- Author:
Yiqing Ma(Hongkong University of Science and Technology ) - Email1: `ydkwon@cse.ust.hk` KWON Young Dae
- Email2: `ymaay@connect.ust.hk`
- What Include in this tutoiral:
Editor: Sublime, Lab 1 Guessing Game
1.Important Website:
Lab place: 4210
Target: this editor is for easy css plugin.
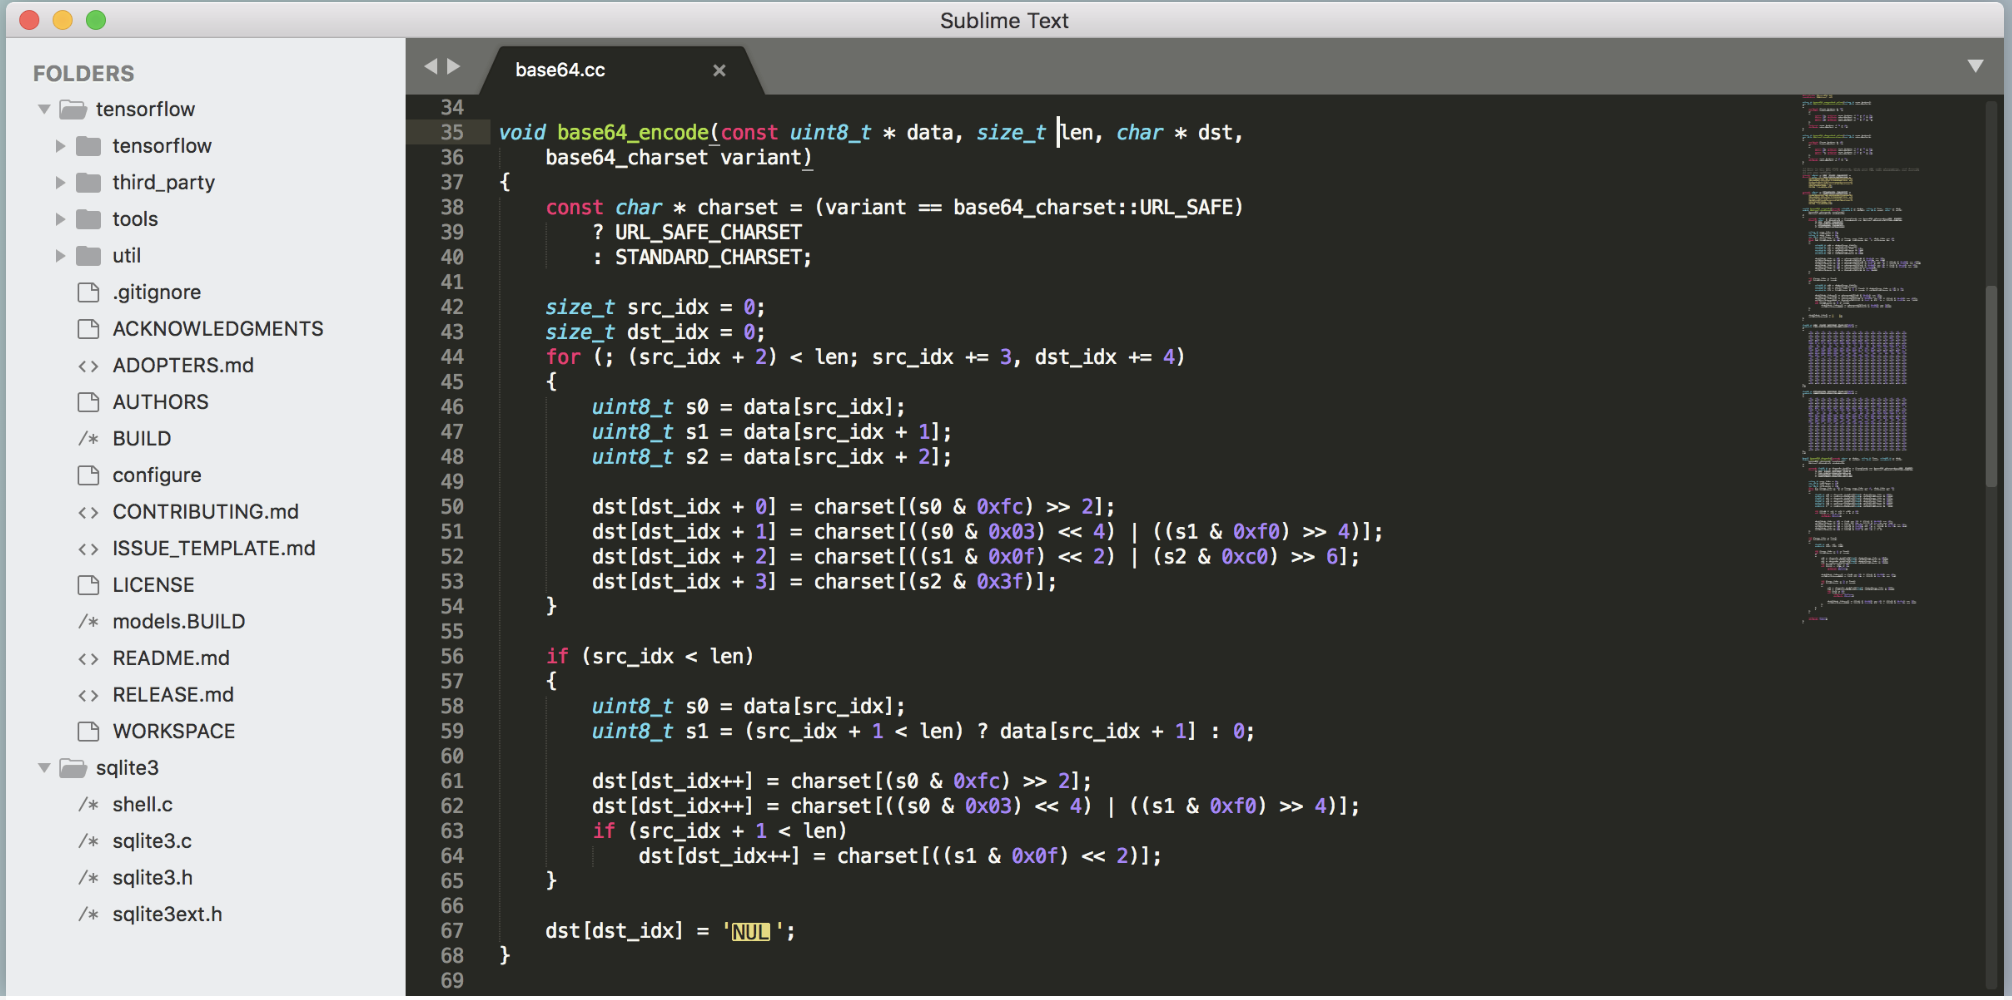
2.Editor: Sublime
A sophisticated text editor for code, markup and prose. The reason why i choose sublime is because it can easily edit all kinds of language with some plugins.And if you get good command of those plugins, it will be super easy to do these coding jobs. Following those steps you can build your own sublime editor.
Opening the sublime website and choose the portable version together
The simplest method of installation is through the Sublime Text console.The console is accessed via the ctrl+ shortcut. Otherwise you can click the
View > Show Console menu.Once open, paste the appropriate Python code for your version of Sublime Text into the console.This code creates the Installed Packages folder for you, and then downloads the Package Control.sublime-package into it.1 | import urllib.request,os,hashlib; h = '6f4c264a24d933ce70df5dedcf1dcaee' + 'ebe013ee18cced0ef93d5f746d80ef60'; pf = 'Package Control.sublime-package'; ipp = sublime.installed_packages_path(); urllib.request.install_opener( urllib.request.build_opener( urllib.request.ProxyHandler()) ); by = urllib.request.urlopen( 'http://packagecontrol.io/' + pf.replace(' ', '%20')).read(); dh = hashlib.sha256(by).hexdigest(); print('Error validating download (got %s instead of %s), please try manual install' % (dh, h)) if dh != h else open(os.path.join( ipp, pf), 'wb' ).write(by) |
Once you finish installing the package control, you can check the upper-bar whether you can find
Sublime Text > Preference > Package Control.If you find it, you are successfully download it !From there, you can simply type in ctrl+shift+p on Windows, or cmd+shift+p on a Mac to open the Command Palette.Once the Command Palette is open, you can then type
Install Package, to install a plugin from the Package Control website. You can also type Add Repository, which allows you to add plugins that are not hosted on the Package Control website, by simply using their repository url. And finally, Remove Package, will let you uninstall a plugin from your system by removing it, as well as any assets from the Sublime packages directory.0. Sublime plugin: 1337 color scheme
Make your sublime more colorful and beatuiful. Easy to choose your favourite style.
1. Sublime plugin: Emmet
Emmet is a plugin that enables faster HTML and CSS creation with the use of snippets. It uses abbreviations ctrl + Ethat expand to valid HTML tags.
1 | #page>div.logo+ul#navigation>li*5>a{Item $} |
Which will expand to:
1 | div>ul>li |
2. Sublime plugin: View in Browser
View In Browser helps you to launch your projects into your default browser with a simple shortcut, ctrl+alt+c for Chrome. It also enables shortcuts for various other browsers installed on your computer, such as Chrome, Firefox, Internet Explorer and more
- CTRL + ALT + F - Firefox
- CTRL + ALT + C - Chrome
- CTRL + ALT + I - Internet Explorer
- CTRL + ALT + S - Safari
3. Sublime plugin: GhostText
is probably one of the coolest plugins I’ve seen in awhile. It allows you to link your Sublime Text editor (with all your plugins 🎉) to text areas in a browser. For example, you could work on a CodePen, but do all the editing in your main text editor. You just need to install the plugin and browser extension. Simply highlight the text area you want to link, and click the browser extension: then magic happens. ✨🐇🎩✨It allows you to use your text editor to write in your browser. Everything you type in the editor will be instantly updated in the browser.
4. Alignment (not for lab)
plugin helps to easily align multiple selections, or multi-line selections. What that means is you can align multiple selections, or lines, via delimiter such as =. Simply type ctrl + alt + a on Windows, or cmd + ctrl + a on a Mac, to align your selection. To align with :follow this tutorial to setup custom delimiters.
5. ChangeQuotes (not for lab)
“converts single and double quotes, and and re-escapes quotes within the string,” according to their docs. Once installed, whenever you want to change quotes, make sure your cursor is inside the quoted text. Open the Command Palette to run ChangeQuotes—there is no need to select the text to change quotes.
6. AutoFileName (not for lab)
follows through on its name: it completes filenames automatically. It triggers a dropdown with file names relative to your existing file and subsequent path as you type.
7. SideBarEnhancements (not for lab)
provides enhancements to the operations on Sidebar of Files and Folders for Sublime Text. Particularly, it sets delete options as a “Move to trash,” includes an “Open with…”, gives you the ability to move files, and more.
8. BracketHighlighter (not for lab)
does exactly what it says: it highlights the brackets in your code. It matches a variety of brackets, such as [], (), {}, ””, ’’, !xml
9. Gutter Color (not for lab)
is a great plugin that displays a colored icon for all lines containing a color. What’s nice about this plugin, compared to others, is that the color highlighting is a bit less intrusive, as it only appears in the gutter (instead of behind a highlighted word). It will please the designer in you.
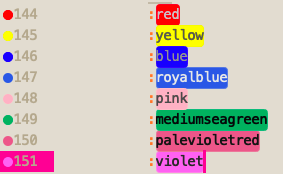
| 1 | 2 | 3 | 4 | 5 | 6 | 7 | 8 |
|---|---|---|---|---|---|---|---|
| red | yellow | blue | royalblue | pink | seagreen | palevioletred | violet |
10. A File Icon (not for lab)
is great for easily scanning what files you have in your project. It simply adds pretty and customizable icons to supported files in your project sidebar. It’s supported by Material and Boxy Themes for customized thematic icons.
11. Color Sublime (not for lab)
is a plugin that enables the installation of color schemes to your editor. These color schemes change the syntax highlighting. What’s great about this is you can cycle through a list of schemes, rather than having to install each one and see if you like it.
12. Emoji (not for lab)
plugin allows you to insert emoji via the Command Palette💓 or ctrl + command + space. Amazing! 🐹
3. Lab 1 Target :
What about this lab?
this lab is about how to build a guessing game.
♥ The game works like this:
You need to use appropriate
CSS stylesto make the game looks similar to what is shown above.You need to write the
JavaScript Codeto complete the logic of the game.
3.1 The Guessing Game
You are given a starting HTML file here to download, And an image here to download.
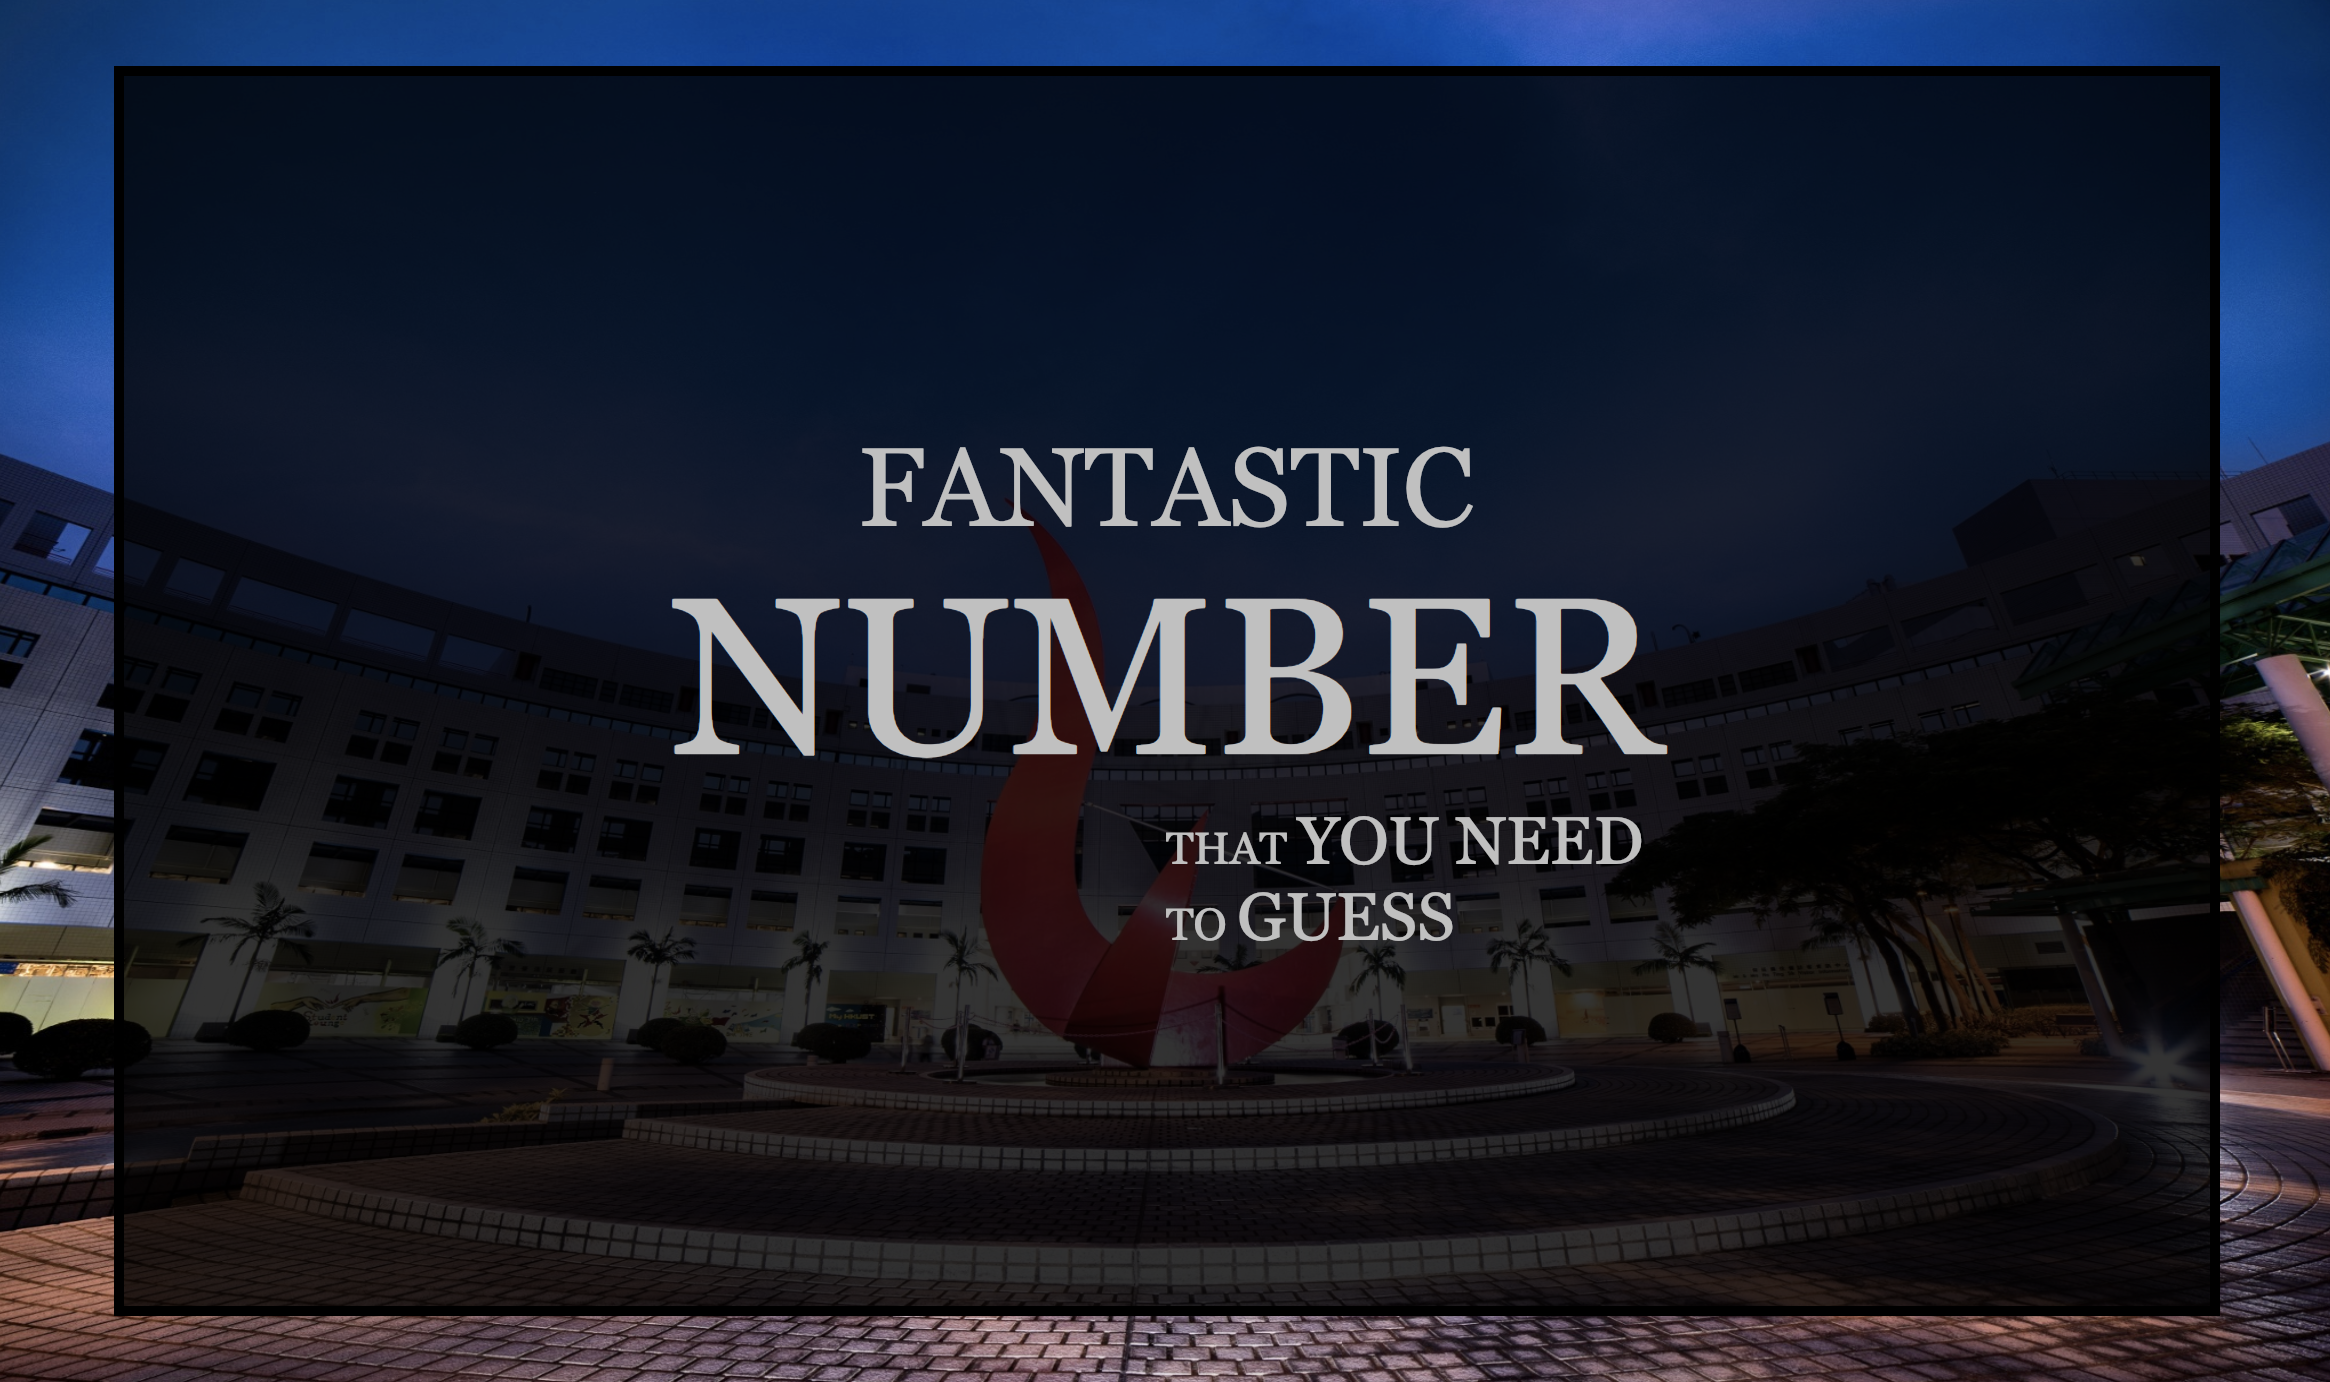
3.2 The Title Screen and the Main Screen
1 | Use Sublime Editor to open the HTML file |
The title screen shows the game title called ‘Fantastic Number’ The main screen contains the components that the player needs to play the game
The two screens are put in their corresponding
<div> as the following pic we need to ensure 3 things:
Always one screen in the game. Show the title screen in the middle until the player click the screen Once the player clicks on the title screen, the title screen will disappear and the main screen will be shown
Step 1 : You first need to apply appropriate styles to them so that you will see them displayed correctly in the browser
> At first point, there are two screen in this computer;
So we think about to hide one.
how to hide one box, we chan chnage the display of its style.
so i add display:none to the game also the main screen.
>
> And then how to switch from the title screen to main screen by click.
See there is a onclick start() function in the title screen. We use this start function to switch the screen.
>
>So that i write the function start() like this .start function is to make the title screen disappear, so we set the display to none. and make the main screen appear, so we set the display to block.
>
>Now we almost finish the switching of main screen and the game screen.
3.3 The Title Screen
We still see the ugly interface of the title screen because we haven’t change the style of the box yet.We would like the title screen looks like this pic.
Then we need to ensure the following things:
The screens cover roughly 90% of the display area of the browser The screens are located centrally inside the display The screens have an appropriate black border around it The screens have an appropriate font size and the size is automatically adjusted based on the size of the screen. The screens have a transparent background.
Step 2: Then you need to set up the style of the boxes of the two screens.
>At first point,i set the boxes style for the two screens, first is the box-sizing: border-box, it means there is a border around it . aaa
>
> in the second line , i set the border to 10px with black color . then i want to ensure the text in the middle not left or right. so i set the text-align to the center.
>
> to make the letter more big , i set the font-size to 8vh ( vh means the 8 %percentage of the height, it is a percentage number which means it will change with the real screen size, the letter size will be automatically adjusted based on the size of the screen.)
>
> Now the same as the width and heigth of the boxes .make it to 90vw, 90 percentage of the whole width and 90 percentage of the whole heighth.
>
> then comes to the margin set the margin to 5vh 5vw each . 90 box add 2 pieces of 5vh margins make the whole a 100 percentage.
>
> the margin is the thing outside the box ,then the padding-top is the thing inside the box. now i set the padding to be 25vh, and make the words and letters exactly the middle of the screen.
>
> After he box style is setting now we still need to set the color of the title screen, make it cool black. so in the style for title screen, first i set the letter color to cool silver ,then the background to black .
>
> we definitely see the black is relatively too dark for our background, we need the color transfer. rgba(0,0,0,0.8). Now we set the color to be transparent .the last number represent the percentage of the transparency.
>
> And we also needs to make the letter be uppercase, we simply do text-transform to uppercase.
>
> how to make the word more closer and some biggger some smaller.
>
> just set p margin = 0 makes the letter more closer . the big represents the some part of the letter and be shown at the last part and we make it more bigger .150% and till now the style of the title screen is set finished.
More details you can refer to the lab website 2.1->3.1
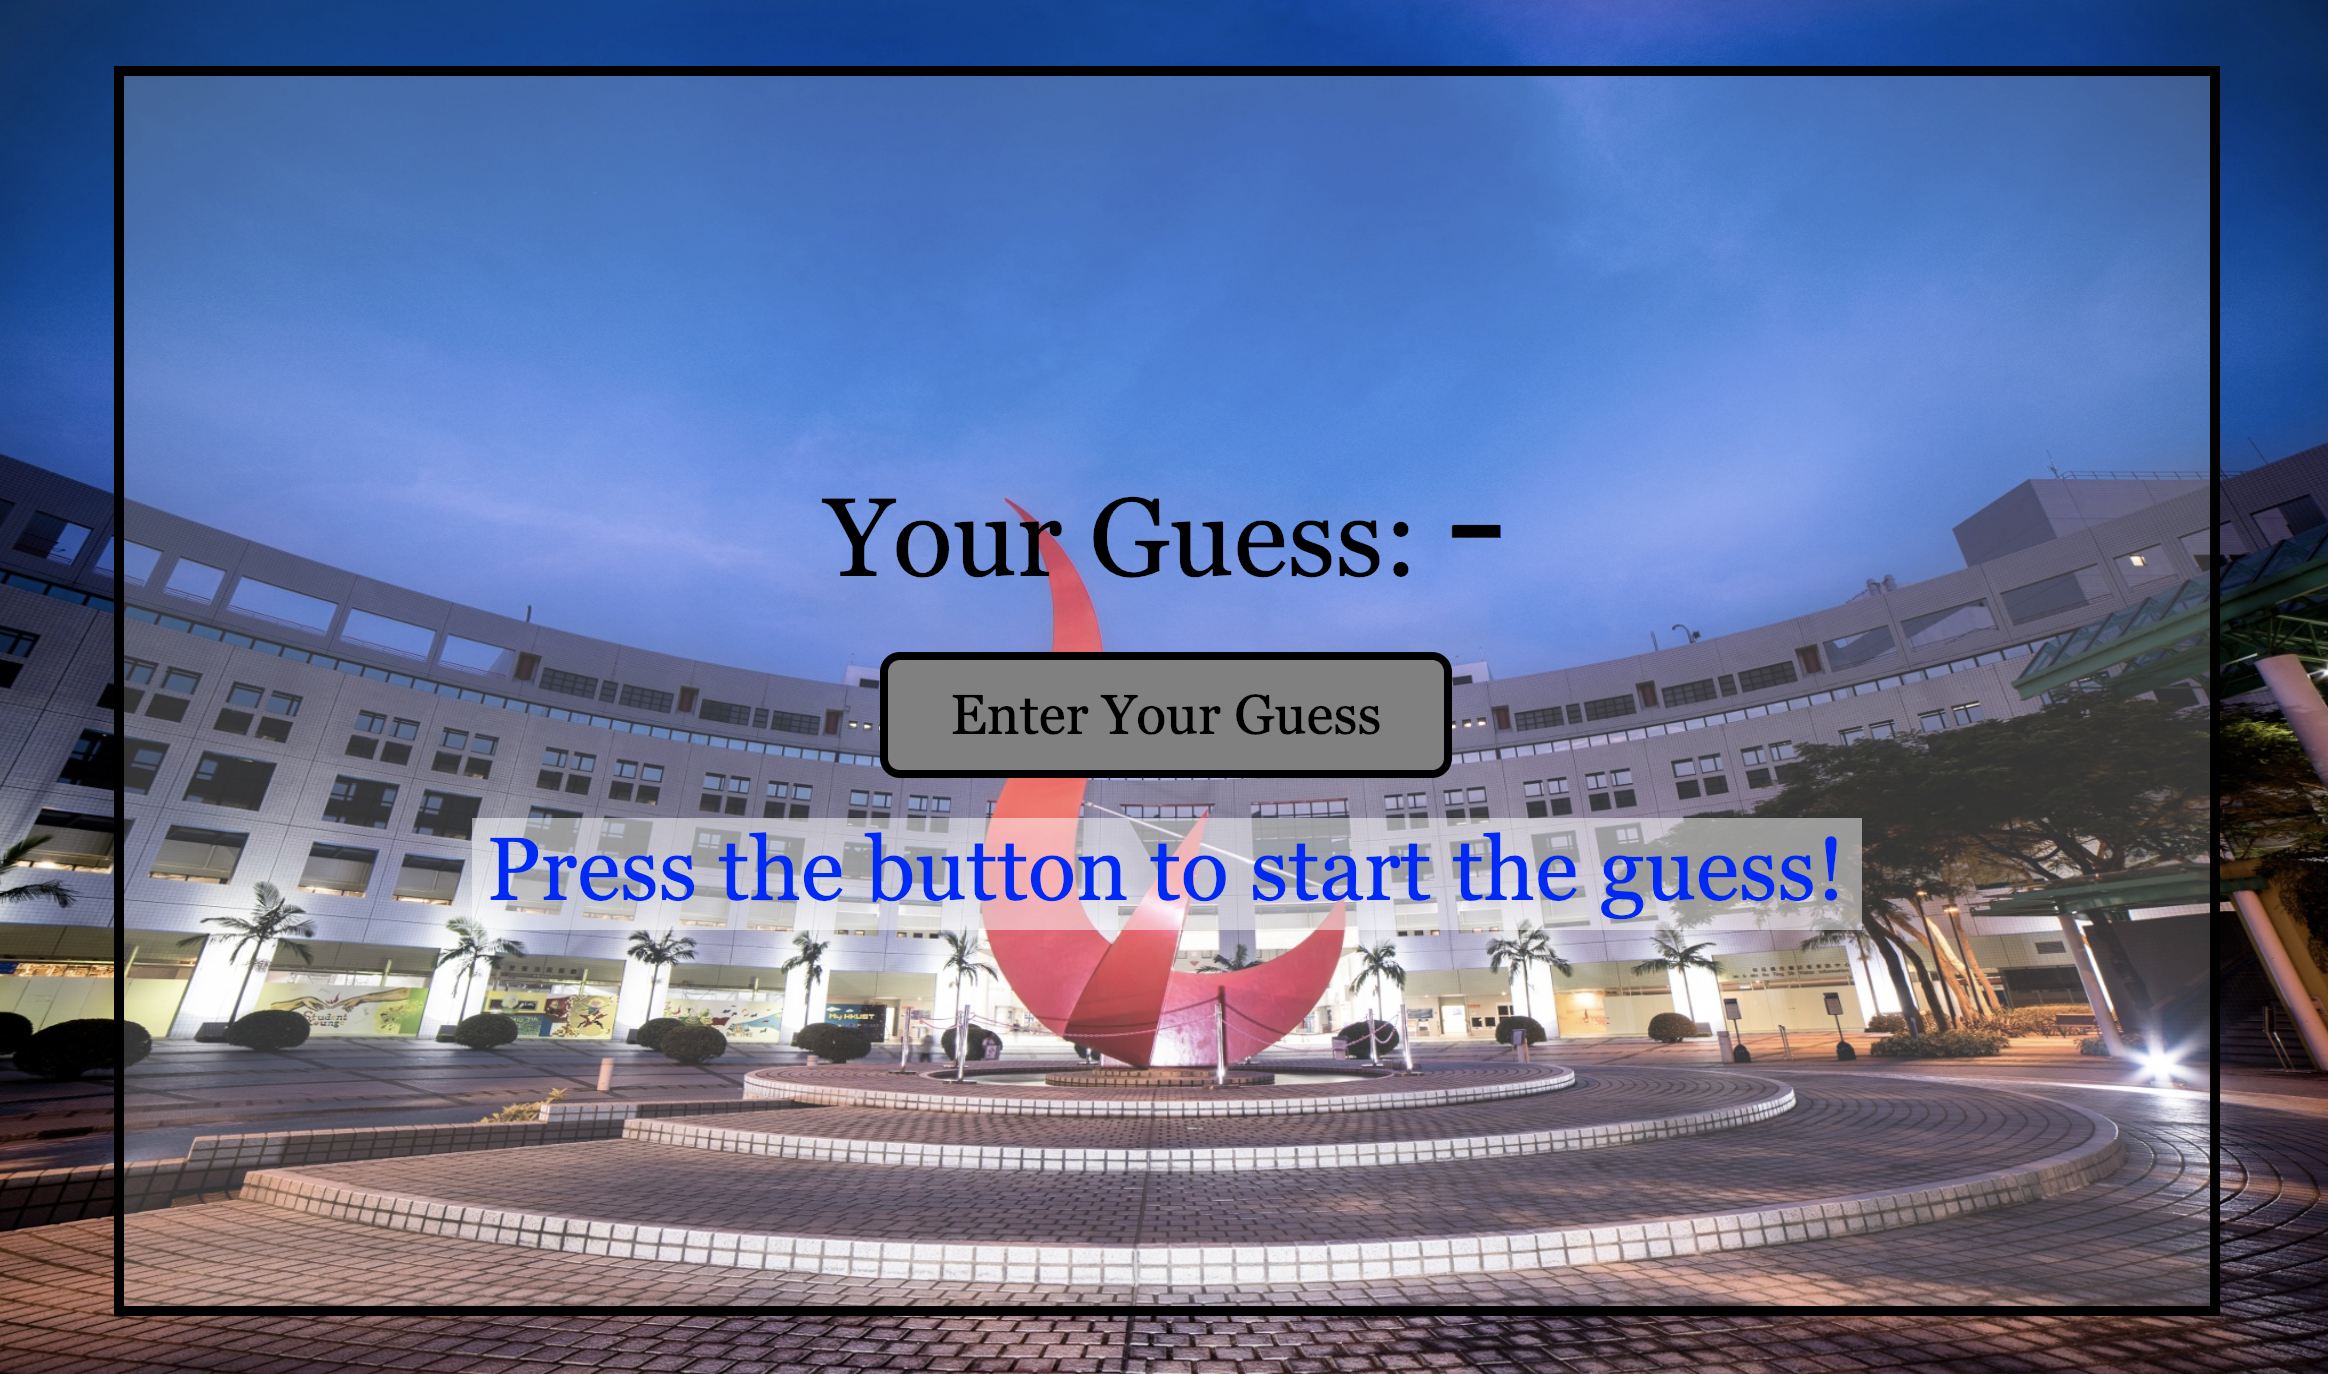
3.4 the Main Screen
We need to ensure 2 things:
Making the hyperlink to look like a button Using a transparent background colour for the screen and using appropriate font settings for different parts of the screen
This is what it should look like

Step 3: you should change the style for the main-screen. And you need to create the button.
> It’s totally same as the following about how to change the style of main screen. The minor change is that the background color of the screen this time is transparent white 。So we just do it like change the color, change the background.
>
> Since in the main screen we have 3 fields of the content , one is guess part , one is button part. one is the hint part.It seems like easier to change the hint part and the guess part because we only need to change the style like font-size of it。so we change it.
>
> For the guess, we change the font-size to 50% and for the hint , we change the font-size to 80% and the color to red.
>
> For the button, it originally be a hyperlink. and it seems complicated to change a hyperlink to a button; however, it is in fact quite easy to do .
> The very first thing that you need to do is to change the hyperlink to a block element. This can be achieved by using the display property and setting its value to
block.Doing this makes any target element to become a block element.>
> Once the hyperlink has become a box, you can use the usual padding, margin and border to adjust the apperance of the hyperlink.
>
> So firstly i adjust the font-size of the button and then the line-height and then the color , background to make it more button like, next is the width and the margin to make it middle of the screen. lastly is the border, make a 4 pixel solid black border around the button .
>
> now we seems like finish the button . but there are still two things different with the demo sample. first is the border-radius, we can change the rectangle to circle-like shape.
>
> last is the underline, in order to remove it we erase the text-decoration.
>
> You may also want to change the ‘mouse over’ behaviour of the ‘button’ by experimenting with the :hover pseudo-class.You can make the button change to a lighter colour when the mouse moves over it.
>
3.5 Very Useful Tool
== First ensure that you have download google chrome on your website.==
== Now i show you how powerful the tool is ~ ==

== For example, open the current guessing game in chrome. ==
== Use the
Ctrl+Shift+I (Windows) 或 Cmd+Opt+I (Mac) to open this tool ==== Otherwise you can right click on the website and select
inspection button ==== It shows all the html code of the web page. What’s more? ==
== You can relate the style and the code directly to the web page. ==
== Open the elements page and select the styles page. now you can check it one by one ==
== (1) If you don’t like some style you can just uncheck that style ==
== (2) you can easily see the Hierarchical relationship between the styles.==
== For example the style of the tytle1 also inherited the box style and the title style ==
== (3) You can modify each element by double click the content ==
== For example you can view the style of the button by inspect it ==
== We click the background rightside we can see the whole property list there ==
== We can change the content enter your guess to enter your favourite number==
== We can see the relationship between margin, padding and border and change the size of them ==
== you can explore more function in this inspect section ==
3.6 The JavaScript Code
After you finish ‘decorating’ the game, it is time to write some code to complete the game logic. The starting file gives you a few things to start with
1 | var answer; |
We need to ensure 3 things:
Making an Answer Using a Random Number in Load()Completing the Click Handler of the Title Screen Asking the Player for the Guess()Handling the Player Guess
Step 4: you need to write the inner logic function.
> Here, first we use a random function to prepare the answer for the guessing game.
>
> Then for the guessing gunction. we need the two variable last_guess and mynumber. For the last_guess, we let the original last_guess to be 50 ; then we should ensure that when we guess the right answer, we should quite guess function which means a return (false). and next you click the button enter your guess, you forever quite the game. until you refresh the page. this part of code is to ensure the game quit sucessfully.
>
> Next, when a user enter the guess number, he should avoid several things like “ if its not a number “, then the hint part return “please enter a number”.try
>
> if it is not an integer . then the hint part return please enter an integer .try
>
> if it is an integer outside the range (1-100). the hint part return (please enter an intger between 1 and 100!)
>
> if mynumber is larger than the answer , return the guess equal to mynumber
> and hint is your number is too big.
>
> if else mynumber is too small, then return the hint your number is too small. and the guess equal to mynumber .
>
> if else mynumber is equal to the answer , then return you are right, and return false